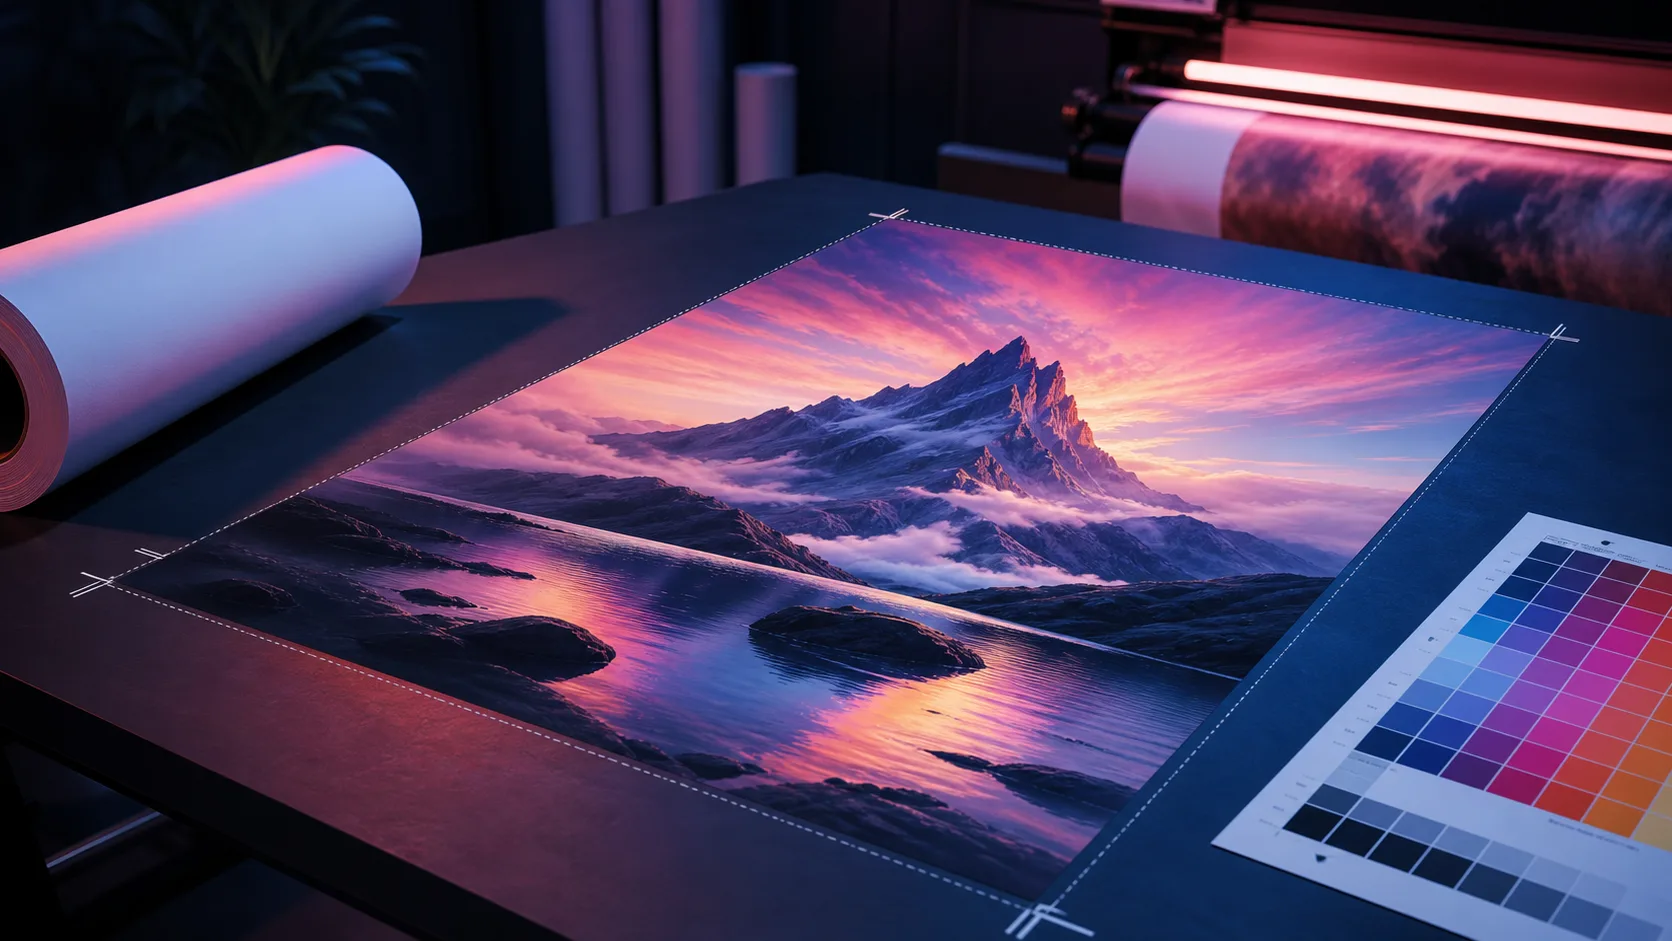
How to Prepare a Print-Ready Poster: Bleed, Safe Area, PDF, and Final Checks
Prepare an AI-generated poster for a real printer without guessing: get the specification, set trim size, extend bleed, protect the safe area, and export the right PDF.
You finish a poster, export a "high resolution" PNG, and upload it to the print shop. Two days later they email: the file does not match their PDF standard, there is no bleed, and a headline sits 4 mm from the trim line. You redo the whole file while the event date approaches.
A print-ready poster is not simply a high-resolution image. It is a file prepared for a particular finished size and printing workflow. The printer — not a generic online checklist — has the final say on file format, bleed, color, marks, and delivery method. Treat AI-generated artwork the same way you would treat any other design: it needs a production check before it goes to print.
This guide walks you through a preflight workflow: get the printer's specification, set the document up correctly, extend bleed where needed, protect the safe area, export the right PDF, and approve a proof only after checking the real copy.
Before You Start: The Printer Has the Specification
The fastest way to get a file rejected is to guess. Send the printer a short list of questions before you do anything:
- What is the finished trim size?
- Do they require bleed, and how much?
- What color setup (CMYK, spot colors, or RGB)?
- What PDF standard (PDF/X, press-ready, flatten)?
- What are the delivery requirements (upload, proof, resolution)?
Write the answers down. Every step below follows that spec. If the printer says something different from a generic online guide, the printer wins.
The Preflight Workflow
Step 1: Set the document to the finished trim size
Create the document at the final size — not a scaled-up version, not "print size plus margin." The finished trim size is what the poster will be after cutting. If you design at the wrong size, bleed and safe area calculations are off.
Step 2: Extend background artwork into the requested bleed
Bleed is the extra artwork that extends beyond the trim line so no white sliver shows after cutting. Use it only when artwork runs to the edge:
- Extend the background, not the text, into the bleed area.
- Use the printer's requested bleed amount (often 3 mm, but verify).
- If the design has a border or frame, you may not need edge-to-edge bleed at all.
Rule of thumb: backgrounds bleed, text does not. Only artwork that should touch the final edge needs to reach the bleed line.
Step 3: Keep irreplaceable content inside the safe area
The safe area is the margin inside the trim line where important content must stay:
- Headlines, URLs, logos, dates, prices, and calls to action go here.
- Keep them comfortably inside the trim line so trimming or framing cannot cut them.
- Check every element against the design's viewing context — a framed poster needs more margin than an unframed noticeboard sheet.
Step 4: Inspect images and text at 100%
A poster that looks fine zoomed out can have soft text, spelling errors, or unintended artifacts at full size:
- Zoom to 100% and check text sharpness and spelling.
- Verify every name, date, price, and URL against your source of truth.
- Look for edge artifacts, stray pixels, or marks that only appear at print resolution.
For AI-generated artwork, pay extra attention here. Generated images can hide spelling errors in small text and soft edges that look like texture until they print.
Step 5: Export the requested PDF and reopen it
Export the PDF standard the printer requested, then reopen the file and confirm:
- The page size matches the finished trim size.
- The content appears at the correct scale.
- The page count is what you expect.
- No elements were clipped, flattened, or recolored unexpectedly.
Do not trust the export dialog. Reopen the file and look at it.
Step 6: Approve a proof only after checking the actual copy
When the printer sends a proof, do not skim it:
- Check the actual copy: names, dates, URLs, offers.
- Confirm the colors look right on a real printed sample if possible.
- Compare against the specification you collected in Step 1.
- Check any supplied production preview, not just the on-screen render.
What This Guide Solves
It avoids the painful late-stage surprise: an otherwise good poster gets white slivers at the edge, loses important text during trimming, or is rejected because its file does not match the printer's requested setup. The difference between "looks fine on my screen" and "prints correctly" is the preflight — the checks you run before the file leaves your hands.
Where This Goes Further Than "Export as PDF"
Exporting as PDF is only one step. Bleed is only useful for edge-to-edge art, and a high-resolution export does not replace readable type or a safe margin. Treat an AI-generated poster as artwork that still needs a production check: the printer's spec, the trim size, the bleed, the safe area, and a reopened file all matter more than the export format you choose.
Create the composition in the AI Poster Generator, then move through your chosen printer's checklist before you place an order. For choosing dimensions first, see the standard poster sizes guide.
Final Approval Questions
- Is the final trim size correct?
- Does any edge-to-edge artwork extend into the requested bleed?
- Are all critical elements safely inside the trim area?
- Does the exported PDF open cleanly and show the correct page count?
- Has the printer, not just the designer, confirmed its requirements?
- Is every name, date, price, and URL correct in the final proof?
FAQ
What is the difference between bleed and margin? Bleed is extra artwork that extends beyond the trim line so no white edge shows after cutting. A margin (or safe area) is space kept clear of critical content inside the trim line. Backgrounds use bleed; text and logos stay inside the safe area.
What PDF standard should I use for print? It depends on your printer. Many commercial printers accept press-ready PDFs such as PDF/X, but every shop has its own requirements. Ask for the exact standard and settings rather than assuming one works everywhere.
Do I need CMYK for a print-ready poster? Usually yes for commercial offset printing, because CMYK matches how the press applies ink. But some printers and digital processes accept RGB. Confirm the color setup with your printer instead of guessing.
Can I print a poster directly from an AI-generated image? You can, but the file still needs a production check: correct trim size, bleed if the art runs to the edge, a safe area for critical text, and the printer's required format and resolution. A generated image is artwork, not automatically a print-ready file.
Why did my printer reject my file? The most common reasons are a mismatched PDF standard, missing or incorrect bleed, text too close to the trim line, the wrong color setup, or a resolution lower than the printer's requirement. The fix is to collect the printer's specification first and match the file to it.
Sources
This is a general preflight workflow, not a substitute for a printer's job specification. Always follow the exact requirements of the shop that will produce the poster.
- Adobe: Print bleed and slug areas
- Adobe: Set a print bleed
- Adobe: Export PDF files
- Adobe: Print documents
- PDF Association: PDF/X
- Ghent Workgroup: PDF output suite
- U.S. Government Publishing Office: Creating accessible PDFs
- W3C: Understanding contrast minimum
- ISO: ISO 216 paper sizes
- Canva Design Wiki: Poster sizes
Author
The product team building and testing PosterMont. Product guidance is checked against the current app, and design references cite their sources and state model or export limits.
Categories
More Posts

AI Movie Poster Prompts: A Formula and 12 Examples That Leave Room for a Title
Use this AI movie poster prompt formula — genre, character, tension, setting, light, composition, title space, format — with 12 starting directions you can adapt.

How to Adapt a Poster for Social Media Without Ruining the Design
Turn one poster campaign into useful social-media variants: protect the hierarchy, rebuild for each ratio, and preview every export on the device before posting.
How to Choose Poster Colors: A Simple AI Workflow for Contrast and Mood
Choose a poster palette that supports the message, the audience, and readable text — with a three-step method, a constrained AI prompt, and a contrast review.
Newsletter
Join the community
Subscribe to our newsletter for the latest news and updates