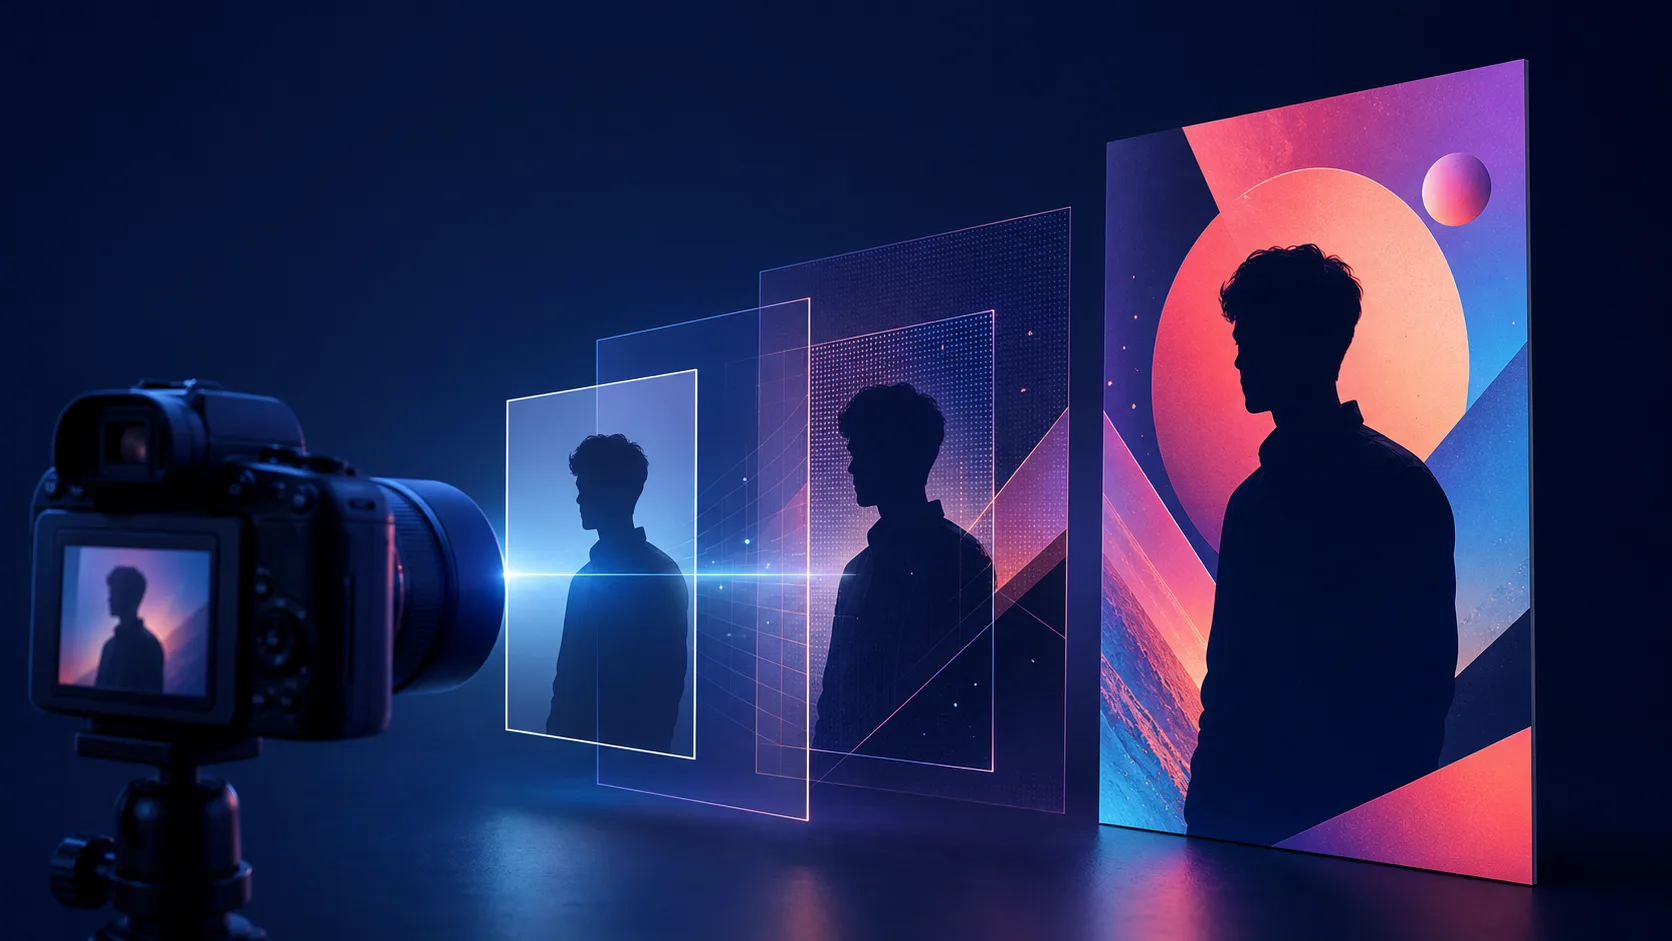
How to Turn a Photo Into a Poster With AI: Keep the Subject, Change the Design
Turn a photo into an AI poster without losing the subject: separate what must stay true from what the design may change, then verify rights before publishing.
You upload a great photo of a product, type "make this a poster," and get back something that no longer looks like your product: the logo is changed, the shape is off, and the background swallowed the subject. The poster is pretty and useless — it represents the wrong thing.
Turning a photo into a poster works best when you separate two instructions: what must stay true to the original image, and what the design may change. The vague request "make this a poster" gives the model no useful constraint, so it invents its own — and the subject drifts.
This guide shows you how to prepare the reference, write a change list that protects the subject, review the output closely, and check rights before publishing. Open Image to Poster when you have a usable reference; the editing and print workflow explains how to inspect the result before publishing.
Step 1: Prepare the Reference
Start with the highest-quality image you have permission to use:
- Use the sharpest version you have — the output is only as good as the input.
- Decide which details must remain recognisable: the face, the product shape, the logo, the clothing, the setting.
- Remove private information that should not appear in a public design — a phone number in the background, an address on a package, a confidential label.
Rule of thumb: state the must-not-change details before you write anything creative. The model cannot preserve what you never mentioned.
Step 2: Write a Change List
Split the prompt into three parts: what stays, what changes, and where the text goes.
Use the uploaded photo as the central subject. Keep the person recognisable and keep
their clothing unchanged. Replace the background with a clean cobalt stage-light scene.
Create a vertical event poster with empty headline space at the top and event details
at the bottom.
Generate a few variations, then choose the one that:
- Preserves the subject most accurately (compare against the original, side by side).
- Leaves the most usable copy area for the headline and details.
- Keeps the design distinct from a simple filter — the art direction changed, the subject did not.
Step 3: Review the Output Closely
Do not trust the first result. Compare it against the original:
- Is the face, product shape, or logo still accurate? Look for small drifts — extra fingers, changed text on the product, a logo that now reads slightly wrong.
- Did the model preserve the details you listed in Step 1?
- Is the subject clear at the final poster size, not just at full zoom?
- Does the design keep essential copy separate from a detailed background?
If a detail drifted, adjust the change list to state it more explicitly and regenerate. Do not publish a poster of the wrong thing.
Step 4: Check Rights Before Publishing
The photo and the output both carry rights. Before you publish:
- Do you own the image, or do you have permission for this use?
- Is anyone depicted, and do you have the appropriate consent for the intended use?
- Does the platform's terms allow the use you are planning?
- Is any logo, trademark, or third-party element appearing in the design permitted?
When in doubt for commercial or high-stakes use, seek qualified advice. A poster with a rights problem is worse than no poster.
What This Guide Solves
It solves the mismatch between a personal or product photo and a publishable poster: preserving identity where needed while changing the surrounding art direction. The change list turns "make this a poster" into a set of explicit constraints the model can follow.
Where This Goes Further Than an Image Filter
The useful question is not "which filter looks best?" It is "which details must not drift?" A filter changes everything at once; this workflow changes the design while pinning the subject. You state the constraints, review the output against the original, and obtain the rights needed for the photo and the intended use.
Start from an image in the AI Poster Generator. Do not upload confidential, sensitive, or third-party material unless you are authorised to use it under the relevant product terms and privacy policy.
Rights and Quality Check
- Do you own the image or have permission for this use?
- Does the generated output still portray the intended subject accurately?
- Have you checked every logo, name, and claim?
- Is the subject clear at the final poster size?
- Does the design keep essential copy separate from a detailed background?
FAQ
Can I turn any photo into a poster with AI? Technically yes, but you need the right to use the photo. Own it or have permission for the intended use, and confirm consent for anyone depicted before publishing, especially commercially.
Why does the AI poster not look like my photo? Because "make this a poster" gives no constraints on what must stay. State the must-not-change details explicitly — the face, the product shape, the logo — and review the output against the original, regenerating when a detail drifts.
Is it okay to use a photo of a person in an AI poster? Only with appropriate consent for the intended use. Publicity and privacy rights vary by jurisdiction and use, so confirm permission before publishing, and check the platform's rules.
What is the best way to keep a product logo accurate in an AI poster? List the logo as a must-not-change detail, review the output closely for text drift, and regenerate when the logo changes. For critical brand assets, add the logo as a separate editable layer rather than relying on the generated image.
How do I make sure the subject is not distorted in the final poster? Compare the output against the original at the final poster size, not at full zoom. Check for small drifts in faces, shapes, and text, and make the constraints in your change list more explicit if the model keeps changing the subject.
Sources
Usage rights and privacy depend on the photo, the people depicted, the jurisdiction, and the chosen tool; seek qualified advice for high-stakes or commercial cases.
- OpenAI Academy: Creating images with ChatGPT
- OpenAI Help: Prompt engineering best practices
- U.S. Copyright Office: Copyright and AI
- U.S. Copyright Office: Fair use index
- U.S. Patent and Trademark Office: Trademark basics
- Creative Commons: License chooser
- W3C: Images tutorial
- W3C: Understanding contrast minimum
- Adobe: Set a print bleed
- Canva Design Wiki: Poster sizes
Author
The product team building and testing PosterMont. Product guidance is checked against the current app, and design references cite their sources and state model or export limits.
Categories
More Posts
AI Movie Poster Prompts: A Formula and 12 Examples That Leave Room for a Title
Use this AI movie poster prompt formula — genre, character, tension, setting, light, composition, title space, format — with 12 starting directions you can adapt.
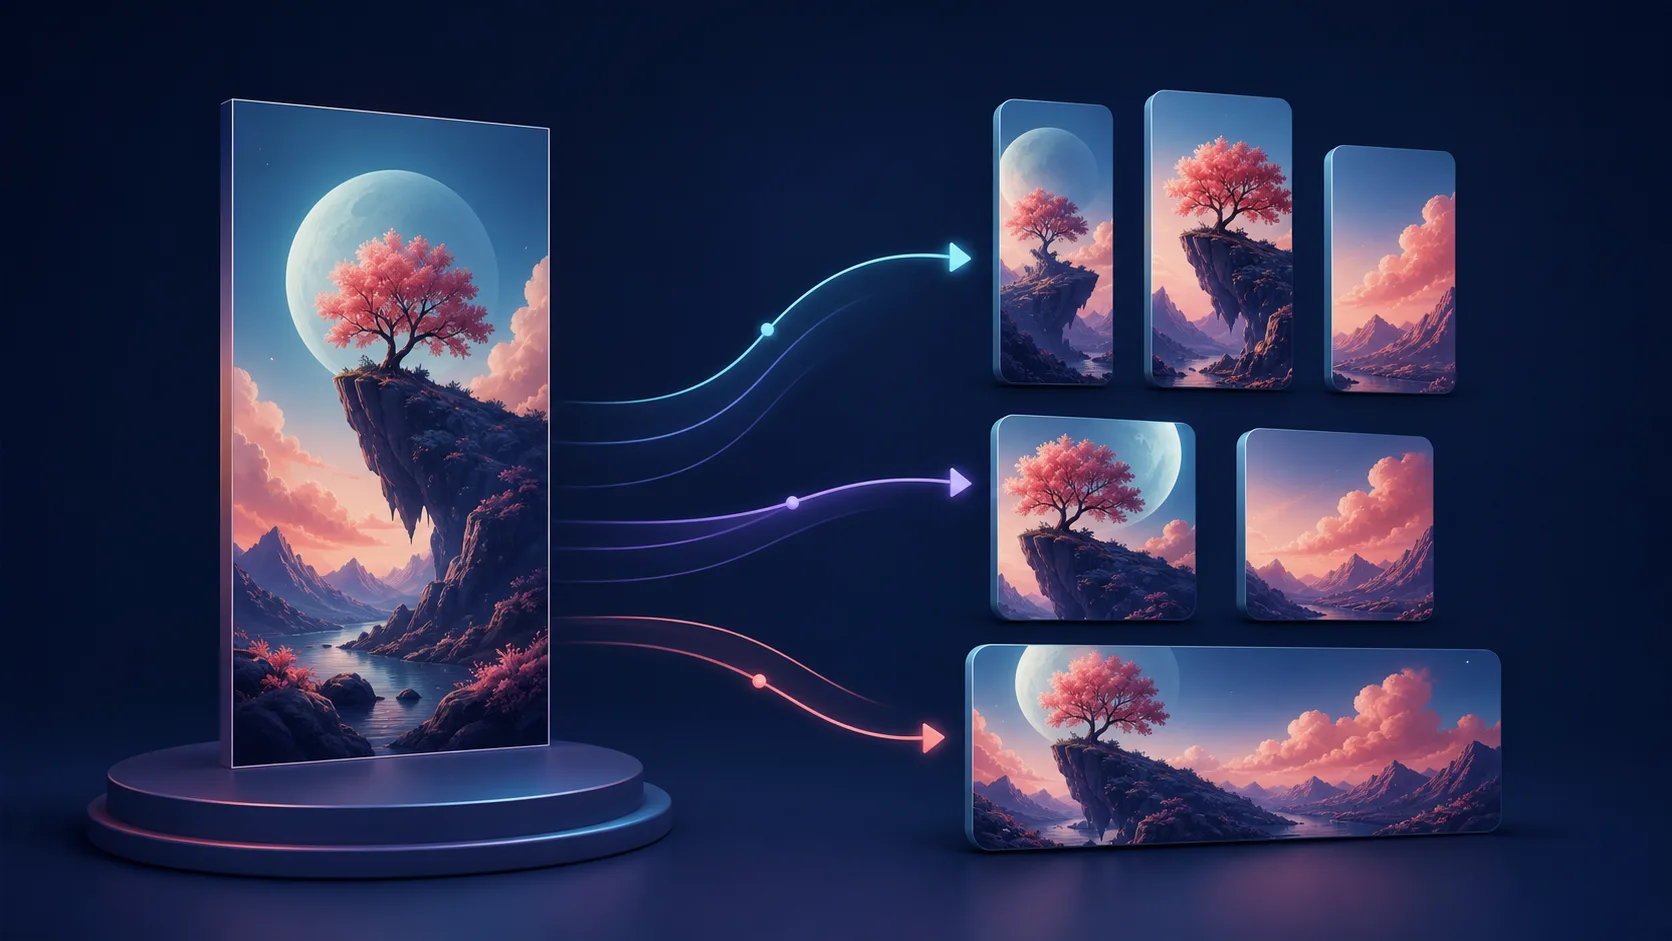
How to Adapt a Poster for Social Media Without Ruining the Design
Turn one poster campaign into useful social-media variants: protect the hierarchy, rebuild for each ratio, and preview every export on the device before posting.
How to Choose Poster Colors: A Simple AI Workflow for Contrast and Mood
Choose a poster palette that supports the message, the audience, and readable text — with a three-step method, a constrained AI prompt, and a contrast review.
Newsletter
Join the community
Subscribe to our newsletter for the latest news and updates